When I was a school librarian, I liked to explore fantasy worlds with students. I’d read books to them and book talk new selections. As an author myself, I’ve always liked to create excitement in students—not only with reading but also in creating their own characters and stories.
Many students though found the writing process daunting. One way I would ease their way into crafting a fantasy story was by taking them through the simplified steps of drawing a dragon. The students then could each write their own dragon story or poem. There’s something about being physically attached to a creature that makes it easier to create a story about it.
At this time of year, (or all year long according to us spooky authors) it’s fun to not only write spooky stories but craft spooky art as well.
Here are crocheted dragons by Samantha Clark, celebrating the release of her two GEMSTONE DRAGONS chapter books which premiered in August.

In tribute to my main character, FRANKENSTEIN FRIGHTFACE GORDON in FROM THE GRAVE, I personalized a small candy jar with Frank’s face. The jar is perfect for holding a Gory Grape Eyeball—or candy of your choice. It’s a super simple project. I drew Frank’s face on a piece of paper that fit inside the jar—then I traced the drawing on the outside. I used black, white, and blue Sharpie pens to draw and color in Frank’s face on the outside of the jar.

Now it’s your turn! Choose one of your favorite fantasy characters and bring them to life in whatever medium you chose!
If you need inspiration, I’ve included a spooky example below. Have fun!
RETURN OF THE MUMMY
Here are directions for creating a mummy rising from its coffin!
I used the book, SPOOKY THINGS: Making Pictures by Penny King and Claire Roundhill, to provide an idea. But I improvised with many of the components, and that’s what makes each art project so unique—just like each spooky story.
Find a sturdy background for your artwork—I used an old manilla folder but a piece of cardboard or poster board would work too. I cut a sponge into a rectangular brick then dipped it in alternating paints to make the crypt-like stonework behind the mummy’s coffin.
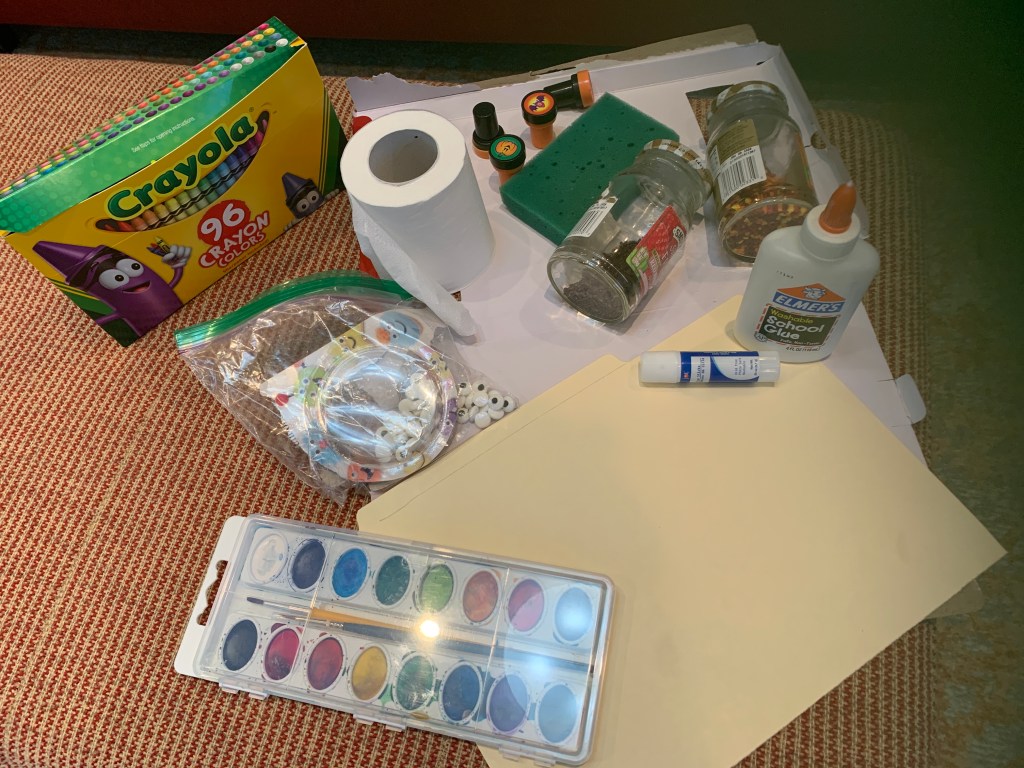
For the tomb’s floor, I used some chocolate sprinkles. The book suggested brown rice but I didn’t have any on hand. Smear a layer of glue below the sponged wall and press the sprinkles/rice into the glue.
At this point, I helped my artwork dry more quickly by blowing hot air on it with a blow dryer set on low.
Next, I cut out my head, hand, and leg pieces from a discarded cereal box in my recycle bin. I tore thin strips of toilet paper and wrapped them around each piece. On the back of each piece, I used wrapping tape to hold the TP in place.

I glued two googly eyes on the head and drew the mouth with a Sharpie. You could draw the eyes as well or cut out eyes from construction paper or other recycled paper.
The directions called for a discarded tube—like paper towel or toilet paper—cut in half, length-wise. But I didn’t have any empty tubes, so I improvised by shaping some recycled box paper into an open box. I used masking tape (applied horizontally) to hold the coffin together. The tape also provided some dimension and the appearance of planks—like a real coffin. All I had to do then was color over the masking tape with brown acrylic paint.
At this point, you can tape/glue your head, hand, and leg into place on the coffin. If you are gluing the pieces, make sure they are totally dry before proceeding with the next step.
I doubled-up a strip of wrapping tape (or you could use double-sided tape) to hold the coffin in place on my backdrop. Then I stapled it at both ends to keep secure. You could glue the coffin at this point, rather than taping and stapling. If you do, it will have to remain flat and dry completely before you can display it upright.

I stamped the background with a few bats and jack-o-lanterns. Some Halloween cobwebs would look quite lovely too. Or you could cut out spiders, bugs, or other creepy crawly things to add to the delightfully frightful scene.
I’m sure Oliver, the mummy character in my books, would be impressed with this picture. Why, I think I hear him whispering a new story into my head right now. I bet, if you listen closely, your monster creature will want to tell its story too—and you’re just the person to write it all down!
Scary on!
